Create a Guest Account in Windows 10
As you know, Windows 10 does not have the ability to add or create a Guest Account. Microsoft has removed the Guest account functionality from Windows 10.
There are several situations that come across with us, wherein, we have to share our personal computer with someone whom you cannot deny. You can always look for a Windows guest account.
Basically, default Guest account cannot be password protected and allows users to access limited features to have temporary access to your computer.
If someone is using the Guest user account, won’t able to install the software or change the settings.
Windows 10 does not have the ability to add a Guest account So, will let you know here how to create one manually.
How to Enable a Guest Account in Windows 10?
This article help you to add a Guest account to your Windows 10 computer with limited access. To enable a Windows 10 guest account, follow the steps below:
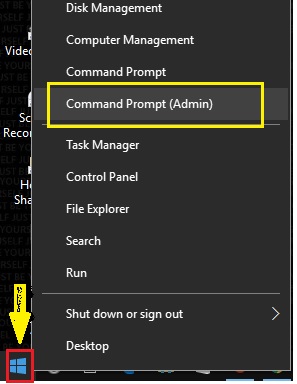
Step 1. Right-click on the Start Menu and select Command Prompt (Admin).
You may get a prompt on your screen for user authorization to open this App. Click Yes to Allow.
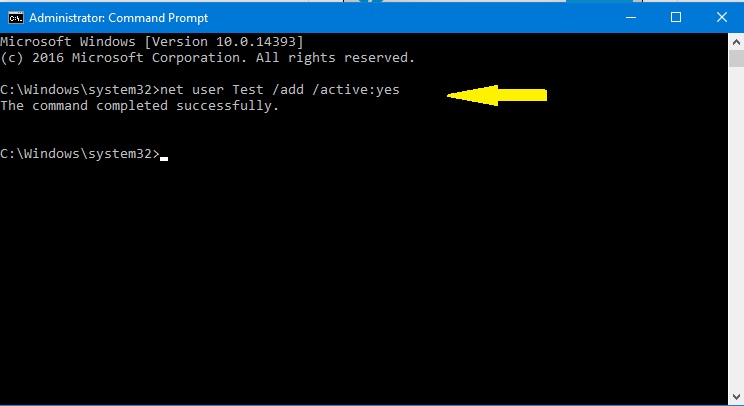
Step 2. Once you complete Step 1 above, the Administrator Command Prompt will appear on your screen.
Now, to add any Guest user Type the below command in the Command Prompt:
net user Test /add /active:yes
In the above command Test is the username, you may replace it with any of your choices.
Once done with the above command, hit the Enter button from your keyboard. It will show you the message The command completed successfully.
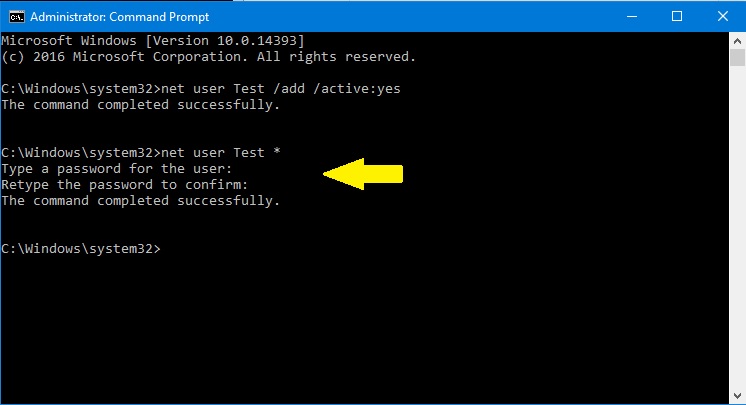
Step 3. Once the account is created, we need to execute the following command to set up the password to this account.
Since we have created a Guest (Account Name: Test) account, we do not need a password for it.
To skip the password, hit Enter twice to skip.
Set this User Account to Guest Level
Follow the steps below:
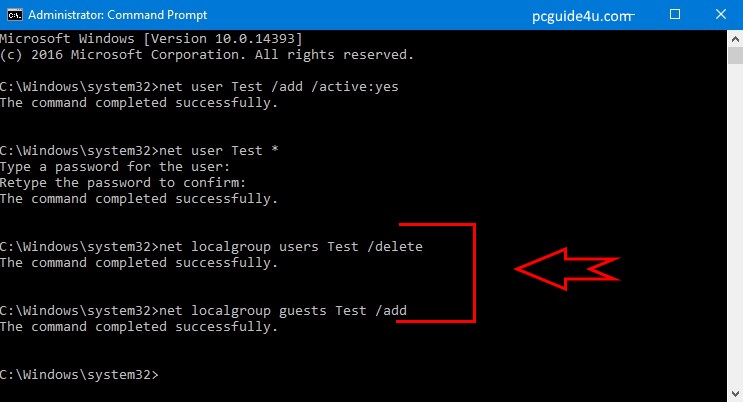
We need to delete the newly created account from the Users group and then add it to the Guests group. Follow the steps given below:
Step 4. Enter the below commands one by one and hit the Enter button after each command:
net localgroup users Test /delete
net localgroup guests Test /add
The account is now been created successfully and it is at the Guest level.
Step 5. To check guest account has been created successfully, go to Control Panel -> User Accounts -> Manage another account.
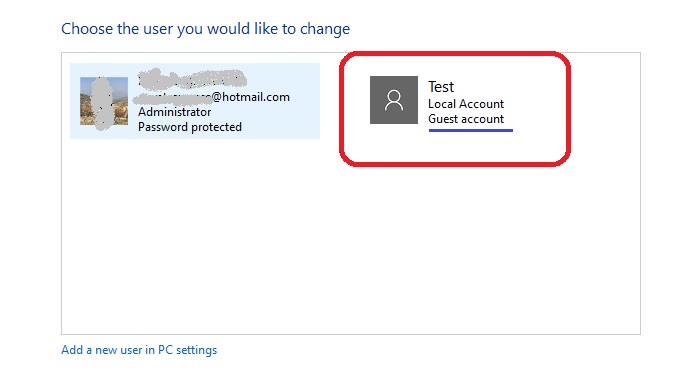
Guest accounts let users perform all the basic tasks and the account has the privileges to run apps, browse the internet, play music, etc.
However, this account cannot change system settings, install or remove new programs, or make any changes to the system that require permissions.
[Read: Delete Guest Account in Windows 10]
How to Create a Guest account in Windows 10? Share on X