

Create System Image Backup for Windows 10 and Windows 11
What does an image backup mean for Windows? How to create image backup? You might have a similar questions in mind?
Windows image backup is a kind of utility wherein you can backup the entire installation of Windows 10 or Windows 11 which includes Windows Settings, Applications, and all of your files, system drivers, etc.
For instance, when your Windows gets into a major problem, you can easily restore or backup your Windows using backup image file. It would be a good idea if you create an Image backup of your Windows.
Reason: Several times we may stuck into a problem wherein Windows won’t boot or start misbehaving while using it. You may afraid of losing your important files, pictures, images and videos, etc. At this time, we don’t understand that what to do next. However, we can think of or wish that we could have an image backup of this so we can restore everything back easily.
Hence, i will show you the steps to create an image backup for Windows using Windows 10 and the same steps will work on Windows 11 as well.
[Read: How to Add This PC Icon to Windows 10 or to Windows 11 Desktop?]
How to Create an Image Backup for the First Time?
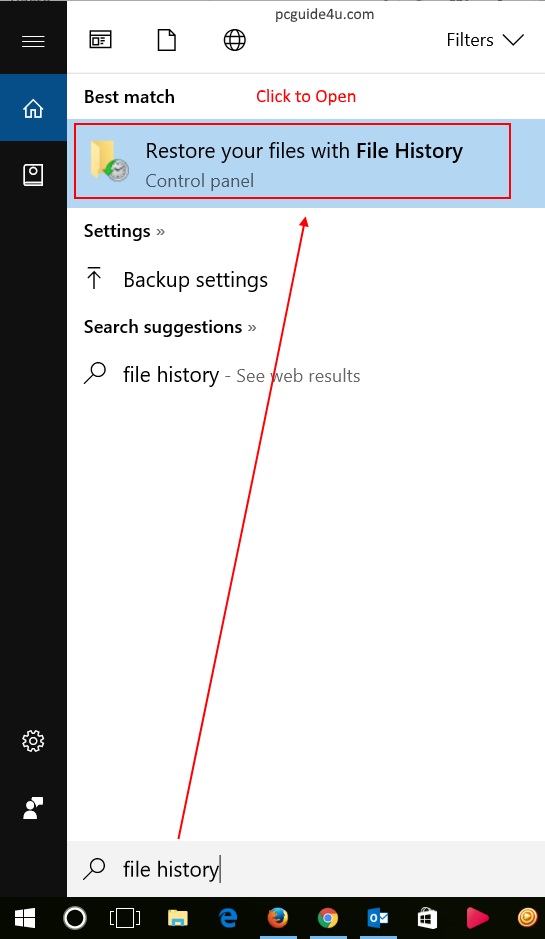
Step 1. Press Win + S to open Windows 10 Search and type in file history to get the result Restore your files with File History. Click on it to open it.
For Windows 11, follow the path below:
Go to Control Panel > System and Security. Then click on Go to Backup and Restore (Windows 7)
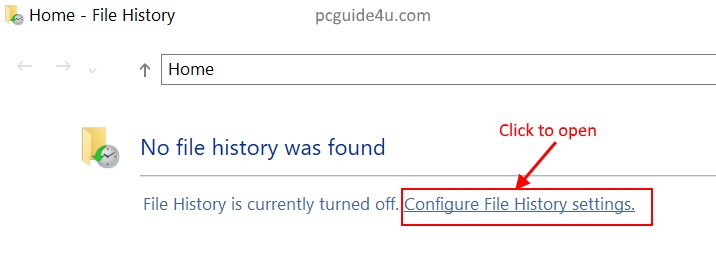
Step 2. File History screen is on your screen.
Most probably, if you are doing this first time then, File History should be turned off. Click on Configure File History settings to open the wizard.
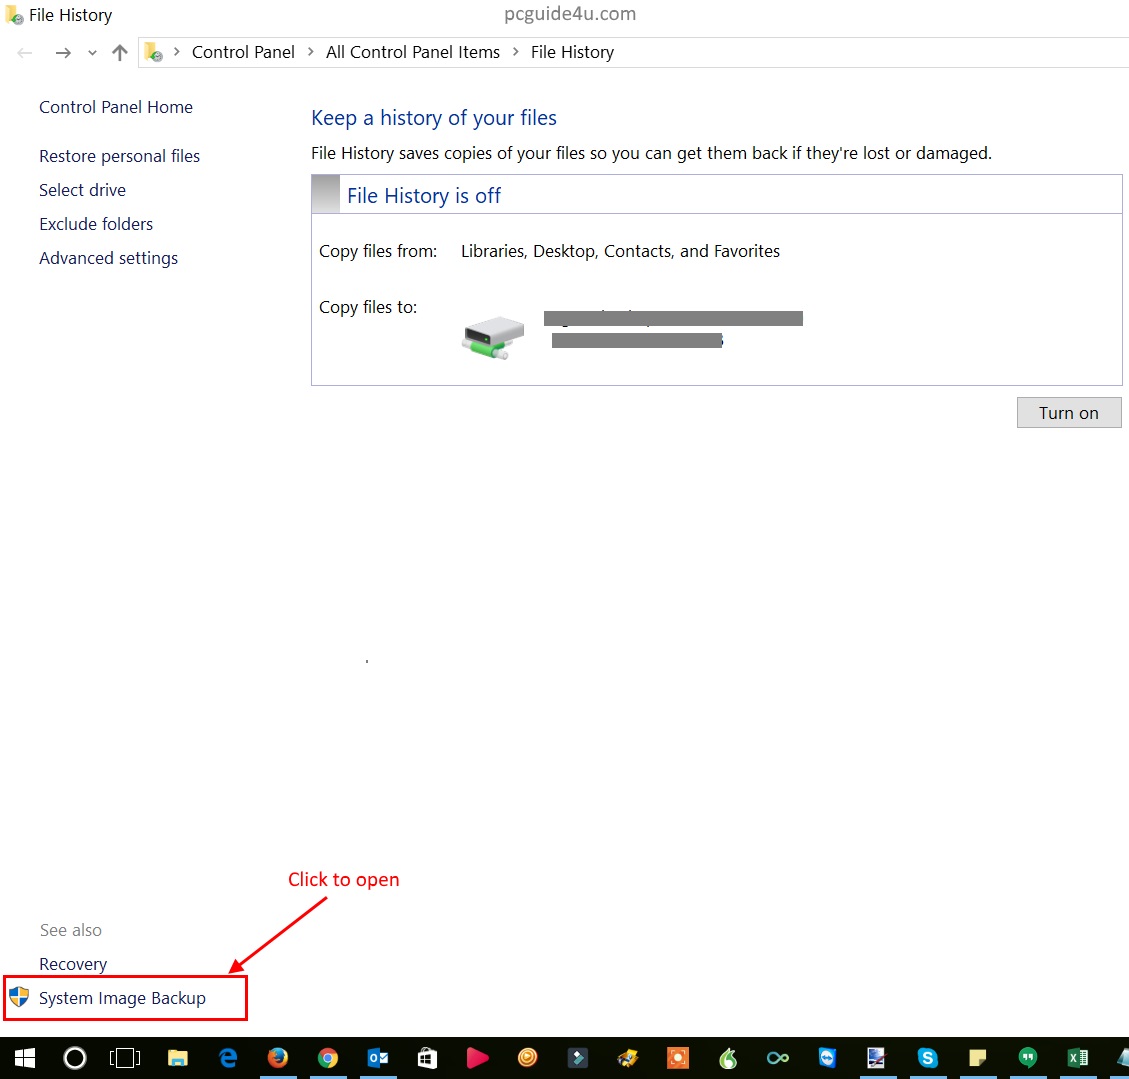
Step 3. At the bottom left of the screen, click on System Image Backup and it will open another screen.
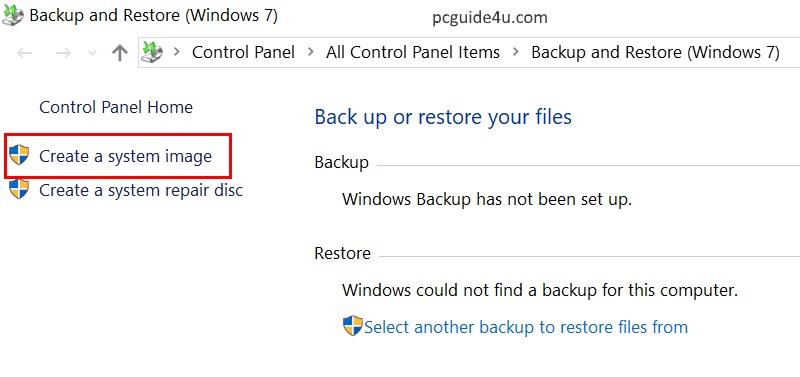
Step 4. In the left pane, click on Create a system image
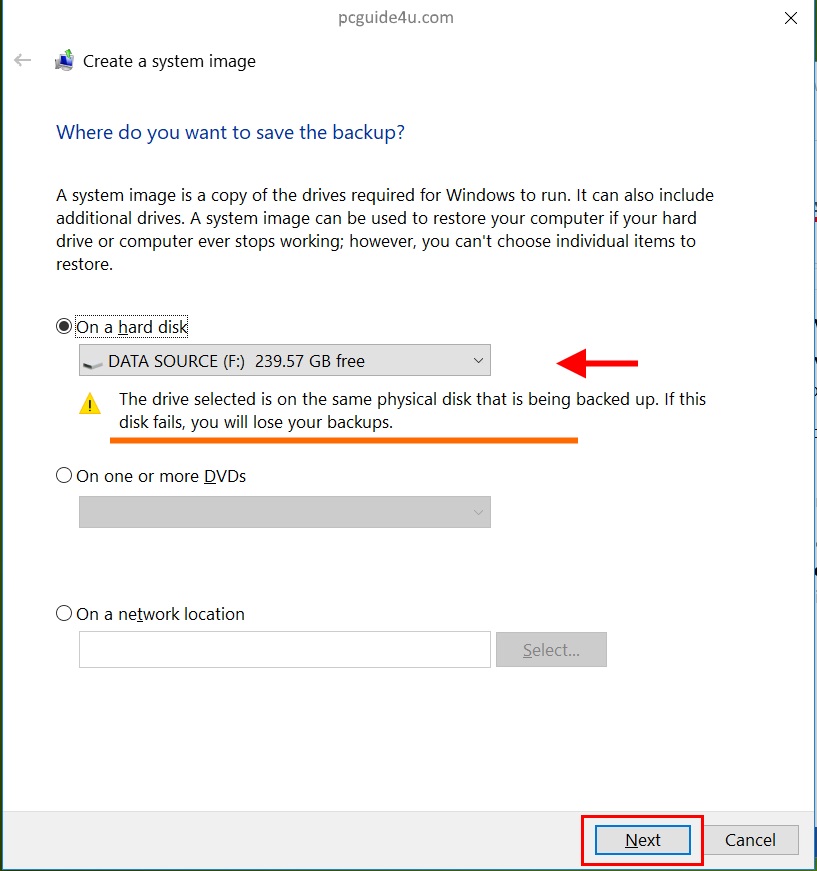
Step 5. Create a system image utility that will open on your screen wherein it ask you where do you want to save the backup?
- On a hard disk
- One or more DVDs
- On a network location
Need to pick one of the location to save Windows Image Backup and click Next button.
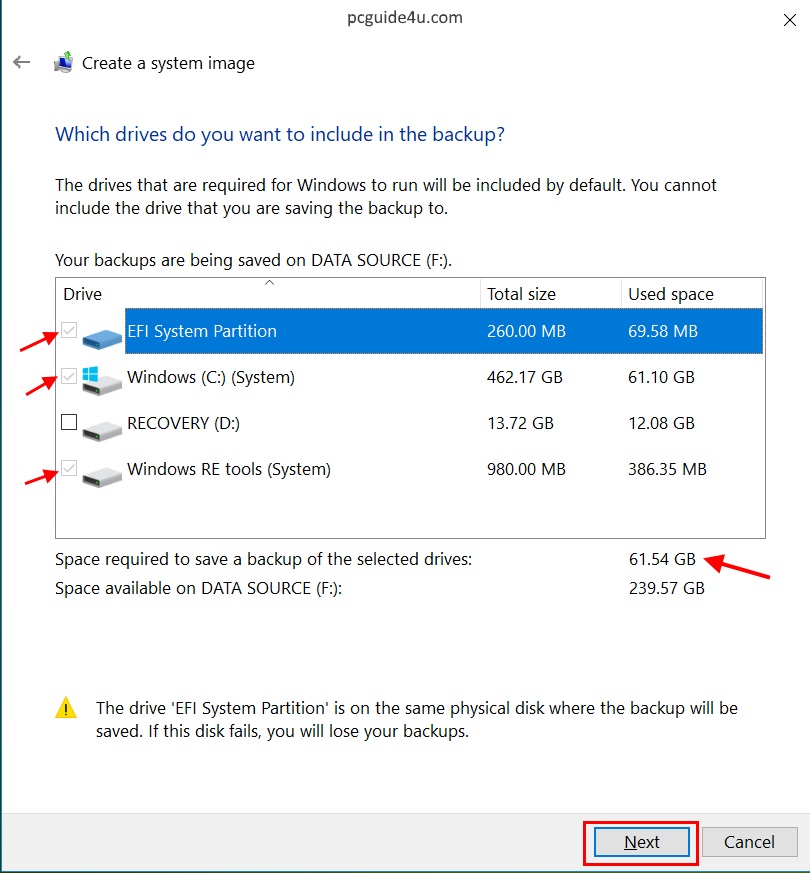
Step 6. On the next screen, system drives are selected to back up (drives are checked already).
Click on Next button to continue.
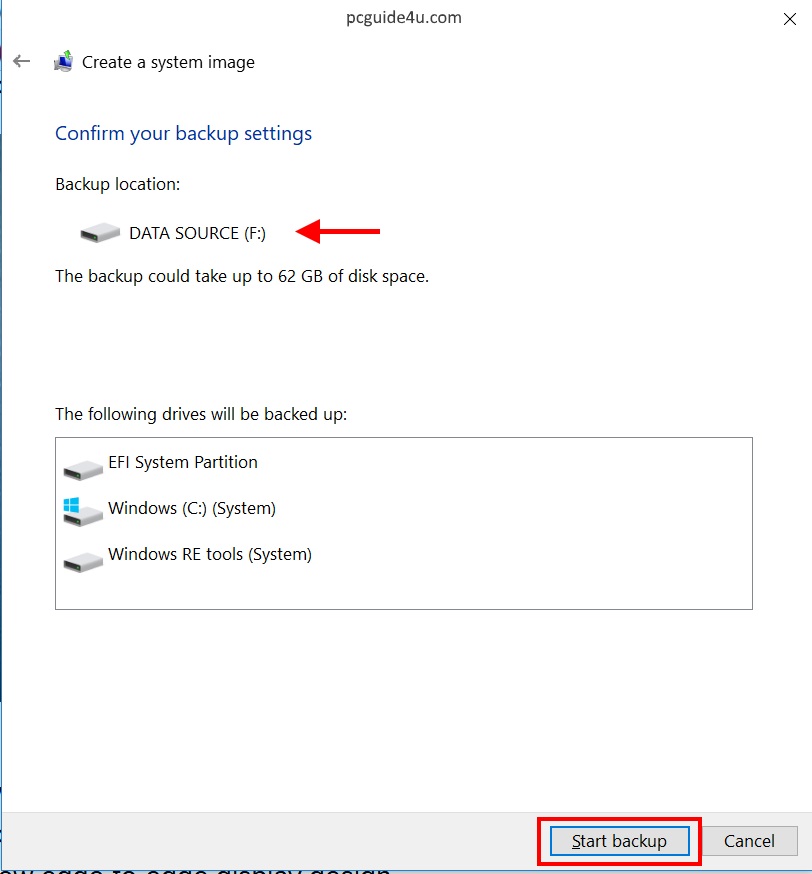
Step 7. This is the last screen where you need to confirm your backup settings.
Check everything properly and click on Start backup. It will start processing and may take a few hours of time to backup an image of your Windows.


Save