Wireless Network List Not Showing on Windows
Can’t you See Network List in your Windows? Have you ever been to a problem in which your laptop is not showing the wireless network list or doesn’t show up any wireless network name?
If you click on the wireless icon, it might show you that No connections are available or No networks available.
Example image is below:
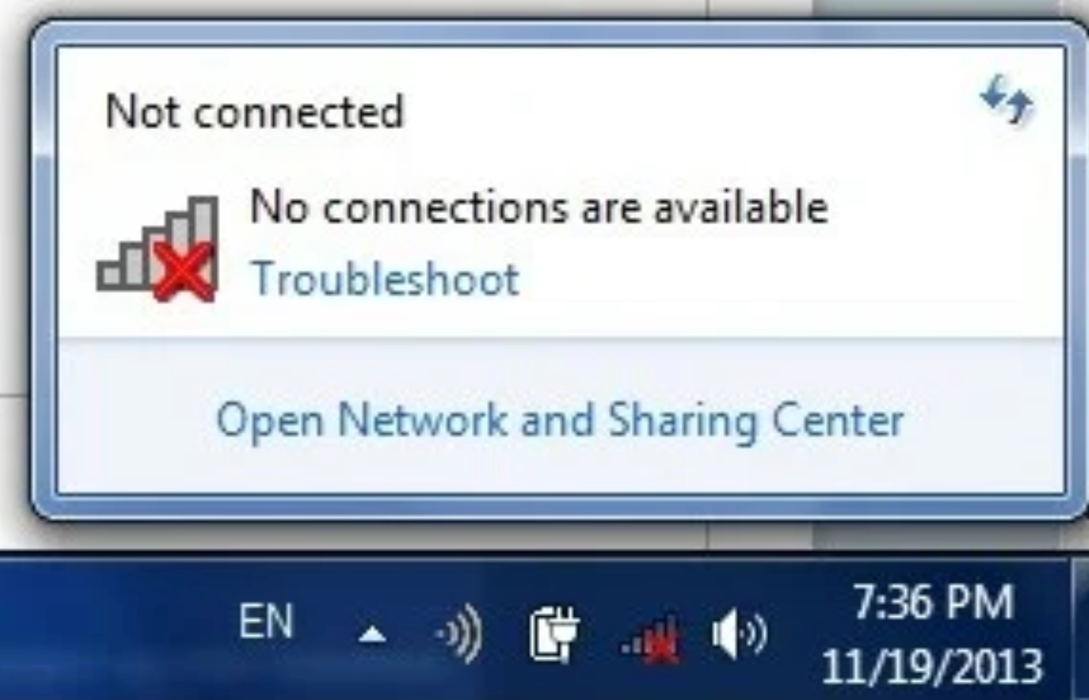
However, your other wireless devices such as laptops, tablets, and smartphones are already connected to the same network.
It clearly shows that the problem is with your computer and not with your network or router.
This generally happens in Windows 7 and later Windows versions. So, the fix given below will work on Windows 7 OS and later Windows versions.
How to Fix if Wireless Network List Not Showing?
Now the questions that come to mind are:
Why is this computer not showing the wireless network list?
What could be the problem?
How can I identify the problem?
So don’t worry, we have a solution for you to fix this in an easy way. Most probably this only happens when there is an issue with the Wireless Network Adapter.
Hereby, three (3) different methods are given below and one of them will fix your problem for sure:
Method 1 – Start WLAN AutoConfig Service
Step 1. Press Win + R to open the Run dialog box.
Type services.msc and click on the OK button in order to open Windows Services.

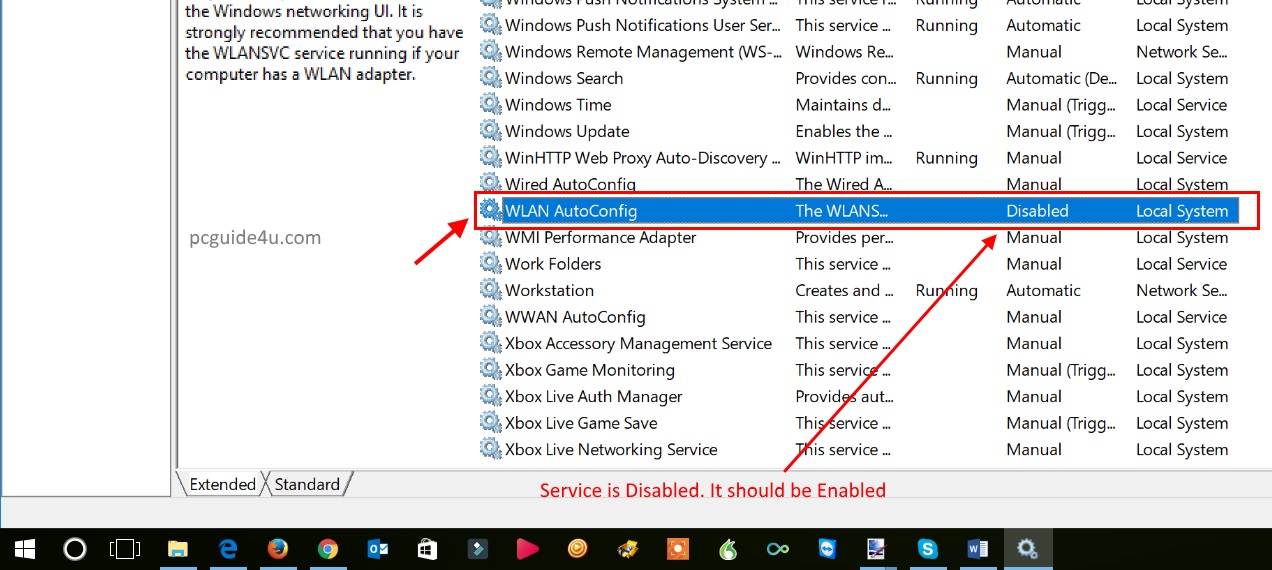
Step 2. Scroll down to the listed services and locate WLAN AutoConfig service from this list. Sometimes, it gets disabled and you won’t get a wireless network list.
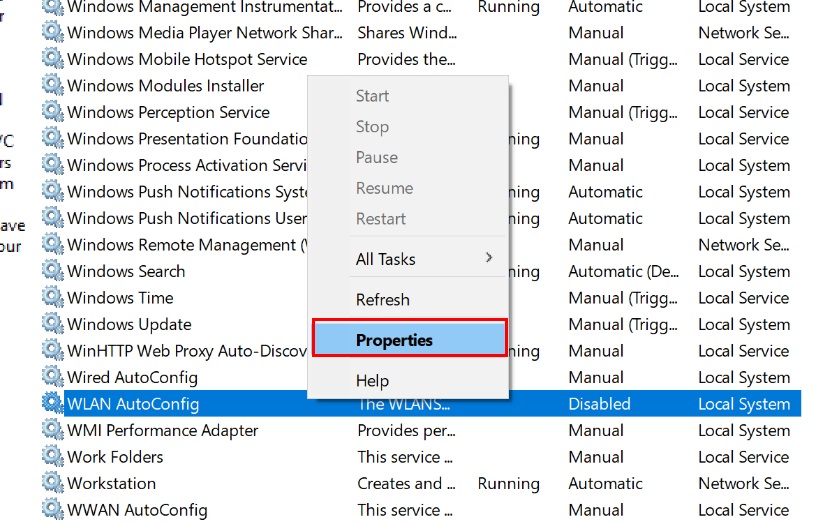
Step 3. To Enable it, right-click on WLAN AutoConfig and select Properties.
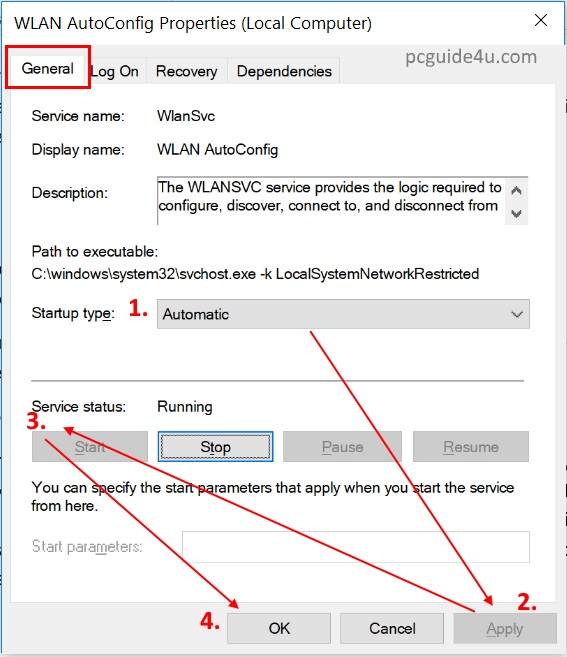
Step 4. Under General Tab
- Go to Startup type: and from the drop down, select Automatic.
- Then simply click the Apply button.
- Now you can see that under Service status, the Start button is highlighted (was not before).
- Click on the Start button to start Wireless Services.
Congratulations! Wireless service has started now. Click the OK button to close Wireless properties.
Now check by clicking on the Wi-Fi icon. I am sure you can see the available networks in the network list.
If not yet, then use Method 2 below:
Method 2 – Reset Network Adapter
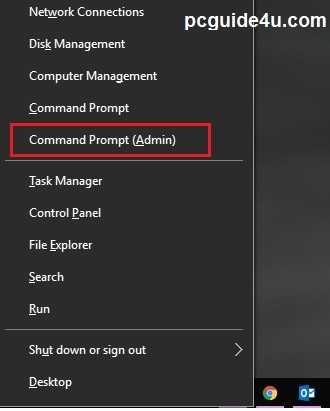
Step 1. Open Windows Command Prompt (Admin).
Press Win + X (in Windows 10) and select Command Prompt (Admin).
Step 2. Now type in the following command:
netsh winsock reset
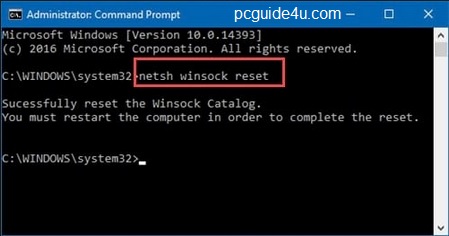
Then hit enter from your keyboard. You will now get the message in the next line is Successfully reset the Winsock Catalog.
You must restart the computer in order to complete the reset.
If you see this message, that means we have initiated the command successfully. You just need to restart your computer.
If the above Methods doesn’t resolve your problem so far then, use the following method below:
Method 3 – Reinstall Network Controller Drivers
For instance, if a network driver is outdated. This should create issues with the WiFi network list.
To reinstall the network controller driver, you need to uninstall it.
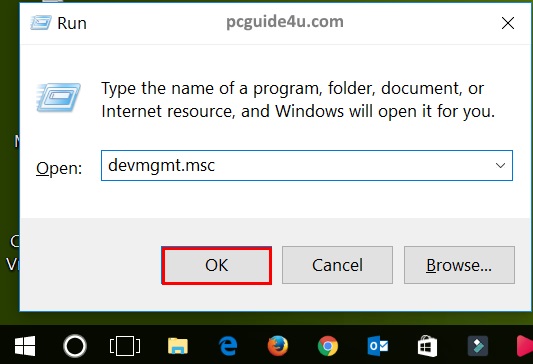
Step 1. You need to open the Device Manager.
Press Win + R to open the Run dialog box. Type devmgmt.msc and hit the OK button to open Device Manager.
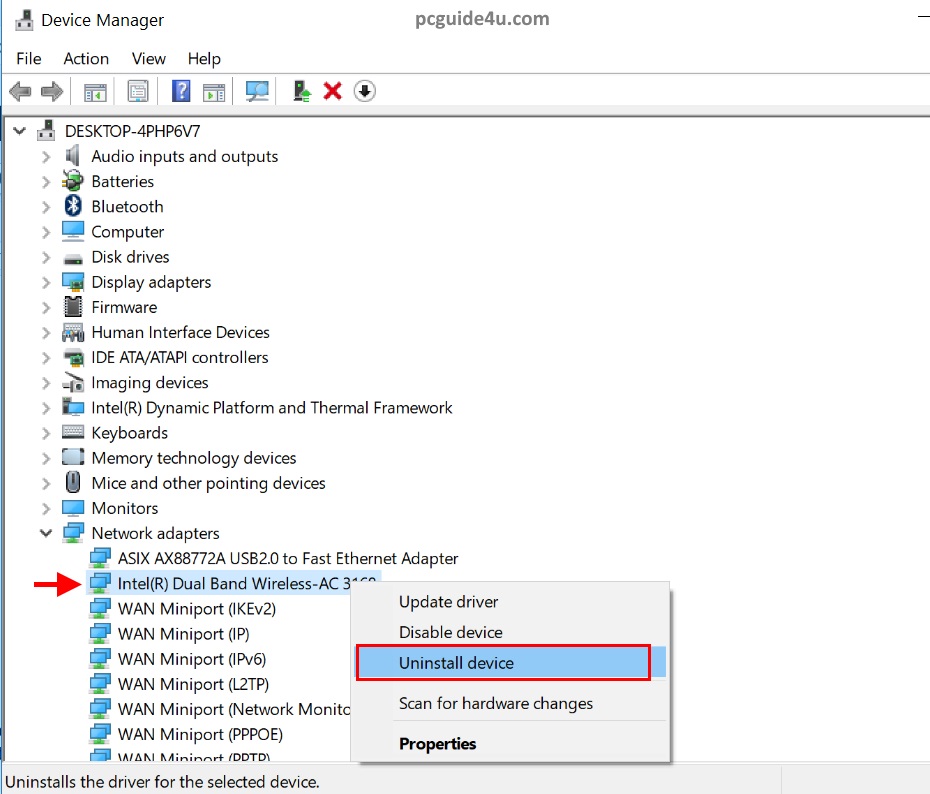
Step 2. Locate Network adapters.
Expand and right-click on your wireless adapter, then select Uninstall. This will start with a quick uninstall process and within a few seconds it will be finished.
Now, you just need to restart your computer. For Windows startups, it will automatically install the default network drivers, as required for your computer.
[Read: How to Create a Network Connection Shortcut to Desktop?]
Now go and check your network list. Sure, you will now have available network names on this list to connect with. Select your network name and enter the security key, if any.
You are now connected to your wireless network and ready to surf the internet.
Solution - Not Showing Wireless Network List Share on X